Emu68-Imager
Quick Start
Version 2.X
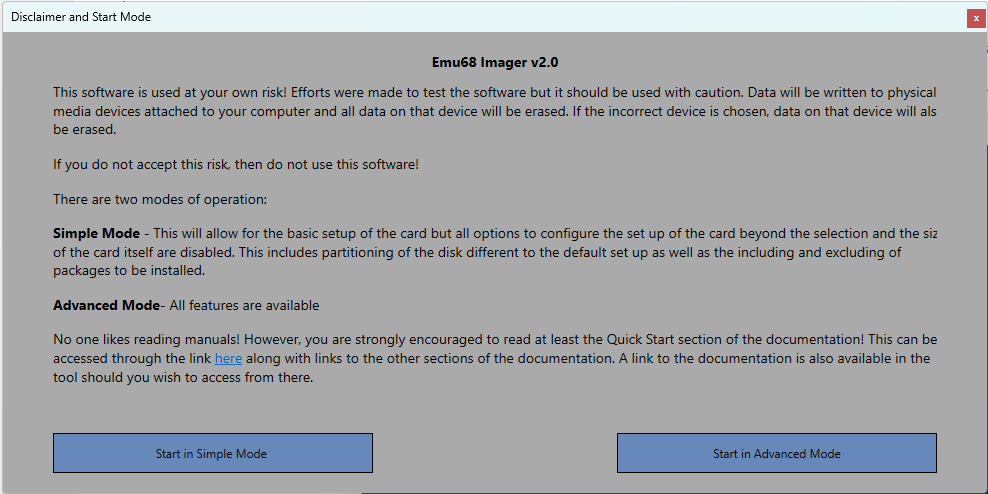
For Version 2 and above, use Simple Mode which will provide an easy way to set up a SD card as quickly as possible.
Once you have selected Simple mode in addition to the current start up page you will also an option to go to the page to set up the disk. However, first set up the options for your install.
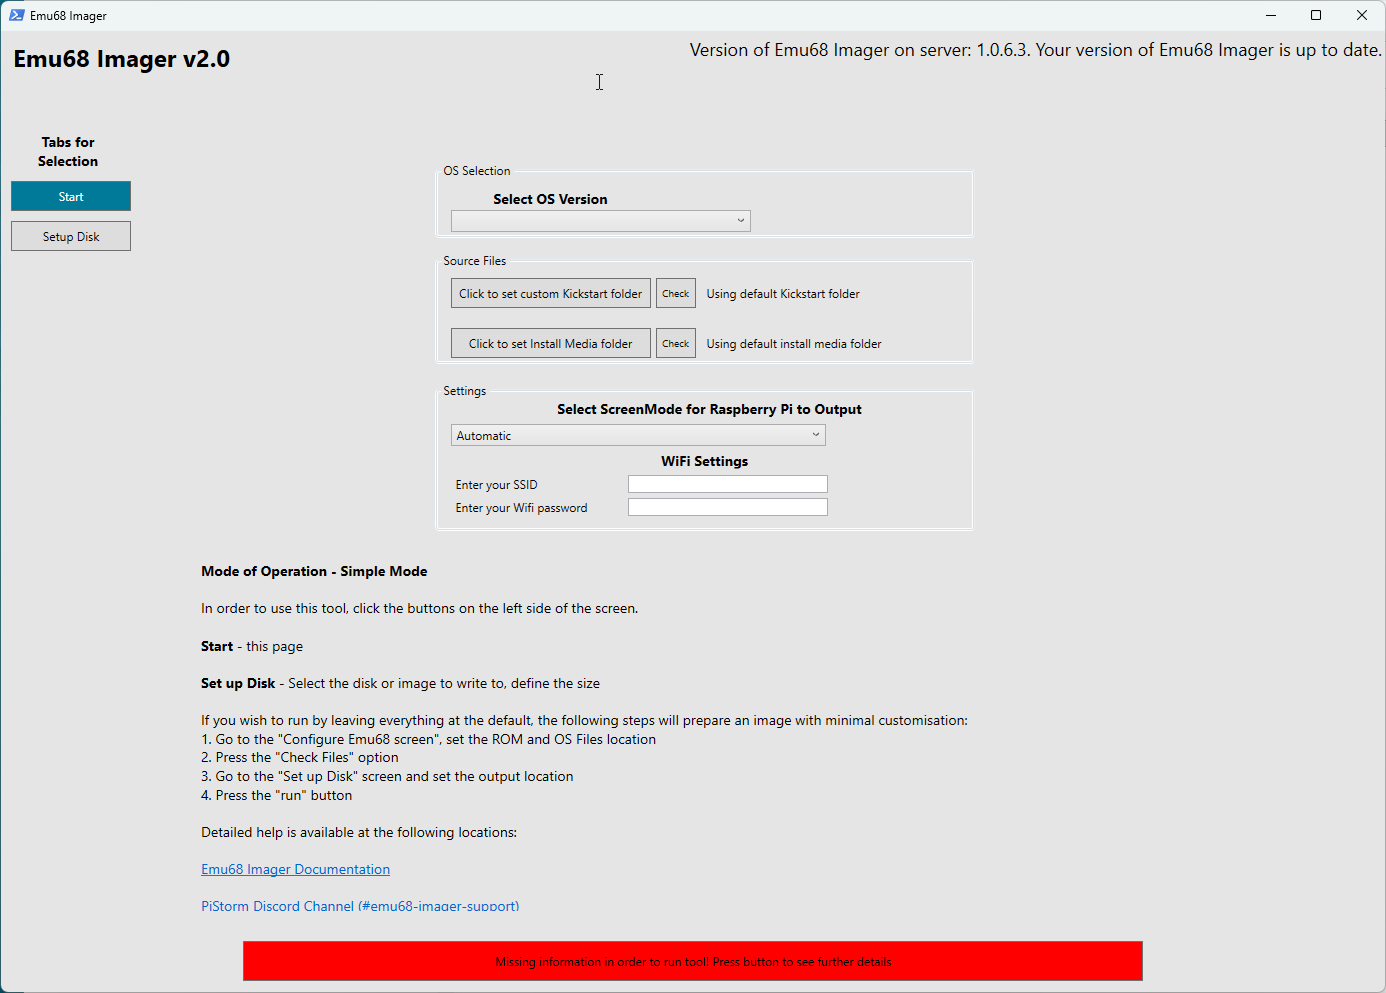
- Select the desired OS version. Currently 3.1, 3.2, 3.2.2.1, 3.2.3, and 3.9 are available.
- Ensure the Kickstart ROM and all installation ADF floppy images are in folders on your disk or have been copied to the default folder (refer to Supplying Kickstart ROM and Workbench installation floppy images (.ADF files) section).
- If you have not used the default folder, select the Kickstart folder (can be the same as the ADF folder) by clicking on
Click to set Kickstart Pathbutton. Click theCheckbutton to validate you have the correct files. - If you have not used the default folder, select the ADF Images folder (can be the same as the Kickstart folder) by clicking on
Click to set ADF Pathbutton. Click theCheckbutton to validate you have the correct files. - Select the Screen Mode of your HDMI monitor in the drop down box (assuming you do not want the default option of Automatic).
Once you have completed these steps, go to “Setup Disk”
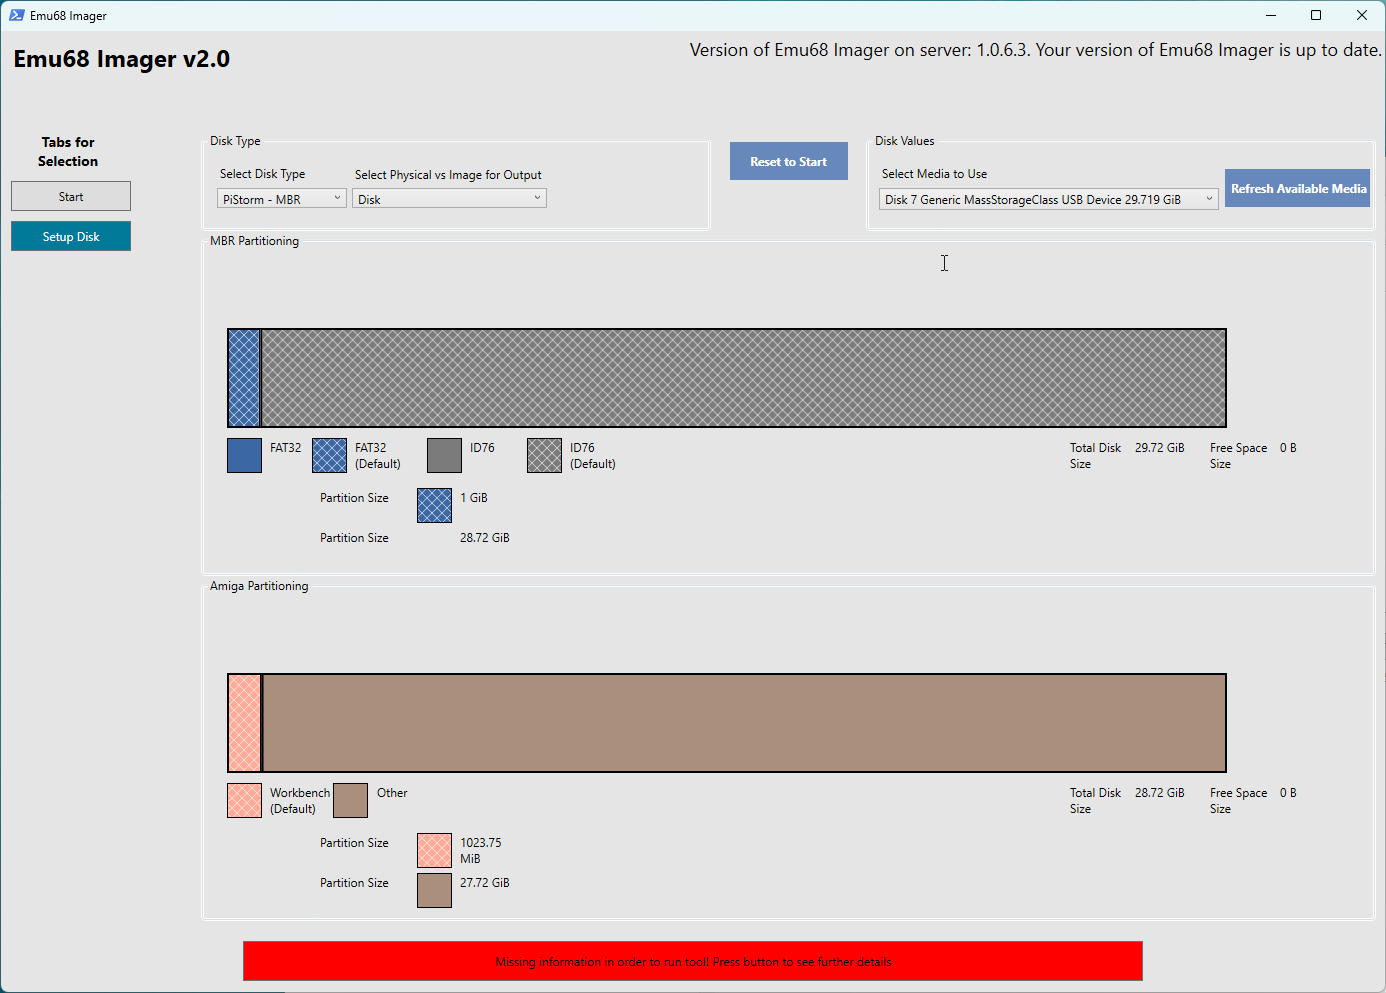
- Select either disk or Image for the output. Depending on your selection you will then need to either select the SD card you have inserted into your SD card reader or set a image location and size. The tool wil automatically assign space for each partition
At this point you should be able to write to the SD card (or generate the image if you have selected this option) through pressing the ‘Run Tool’ button at the bottom of the screen. If the Run Tool button remains red then you have not set the required options. Pressing this button when red will inform you of which options you have missed.
Press the green Run Tool button and follow the popup windows to start the tool. A console window will open showing you the current progress. It will take some time for all utilities to be downloaded and image written. The console window will show progress.